
Let me will walk you through five simple steps towards Cloud Microsoft O365 via this article and you will be able to experience the whole New Exchange wave 15 with minimal expense in my case approx. 102 – Rs. Only
- Register your Company DNS Domain – e.g. In my case I have registered a domain called msexchangeasia.com at godaddy.com which is cheap and I got for approx. 102 Rs.
- Subscribe for a free trial – Subscribing for a trial account will give you chance to experience the all New Exchange and take advantages of its features.
- Configure your Domain – Once you got the trial account add and verify your company domain to the Office 365 portal.
- DNS Record Update – Using automatic DNS records created by O365 portal just update at the pubic DNS registration for MX/CNAME/TXT/SRV.
- Create Mailbox à Send / Receive Emails – Once you are done with the above four steps all you need to do is collaborating with colleagues and friends and enjoy the free subscription for a month.
Let us know understand each towards Cloud – Microsoft Office 365 as below mentioned.
- Register your Company DNS Domain – e.g. In my case I have registered a domain called msexchangeasia.com at godaddy.com which is cheap and I got for approx. 102 Rs.

Go the DNS domain registration website, enter the desired domain and search for availability – there are many DNS domain registration website but I preferred to go with godaddy.com
2. Subscribe for a free trial – Subscribing for a trial account will give you chance to experience the all New Exchange and take advantages of its features.

Go to URL – http://office.microsoft.com/en-001/business/compare-office-365-for-business-plans-FX102918419.aspx and select a free trial plan

Signup, once done filling your details and select create my account and login on to below portal


Once logged in explore the management options.
3. Configure your Domain – Once you got the trial account add and verify your company domain to the Office 365 portal.

Using Domain section – add your company domain which you just registered at godaddy.com in my case msexchangeasia.com

Specify the DNS hosting provider detail, by default are the available hosting listed in the portal so that O365 portal can directly query or you can simply default options and click done verify now.

Once you select I selected godaddy as hosting provider – it will instruct further to create TXT record so that MS can query to verify as below mentioned in the godaddy DNS registration zone portal.

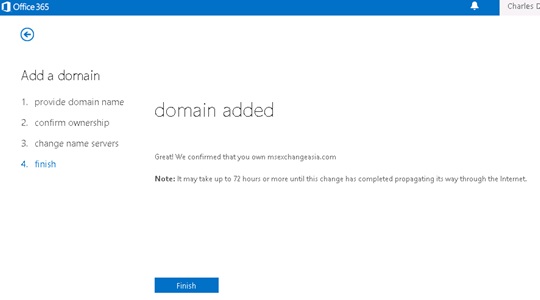
Upon successful creation of TXT record it will verify and add the domain

Now the domain status will be seen as verified and click on manage DNS
4. DNS Record Update – Using automatic DNS records created by O365 portal just update at the pubic DNS registration for MX/CNAME/TXT/SRV.

The Office 365 portal will populate with the records needs to be created and update at godaddy.com DNS zone file and will look as below mentioned.

5. Create Mailbox à Send / Receive Emails – Once you are done with the above four steps all you need to do is collaborating with colleagues and friends and enjoy the free subscription for a month.

Go to User management and create mailboxes – with the trial account subscription you can have up to 10 mailbox license with Lync enabled.
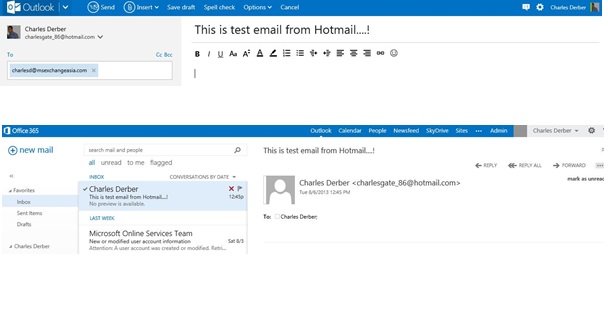
Test mail flow – in my case am sending test email from Hotmail to O365 mailbox and replied received.
Enjoy 🙂

Excellent Charles